Download
 Browser
Overview
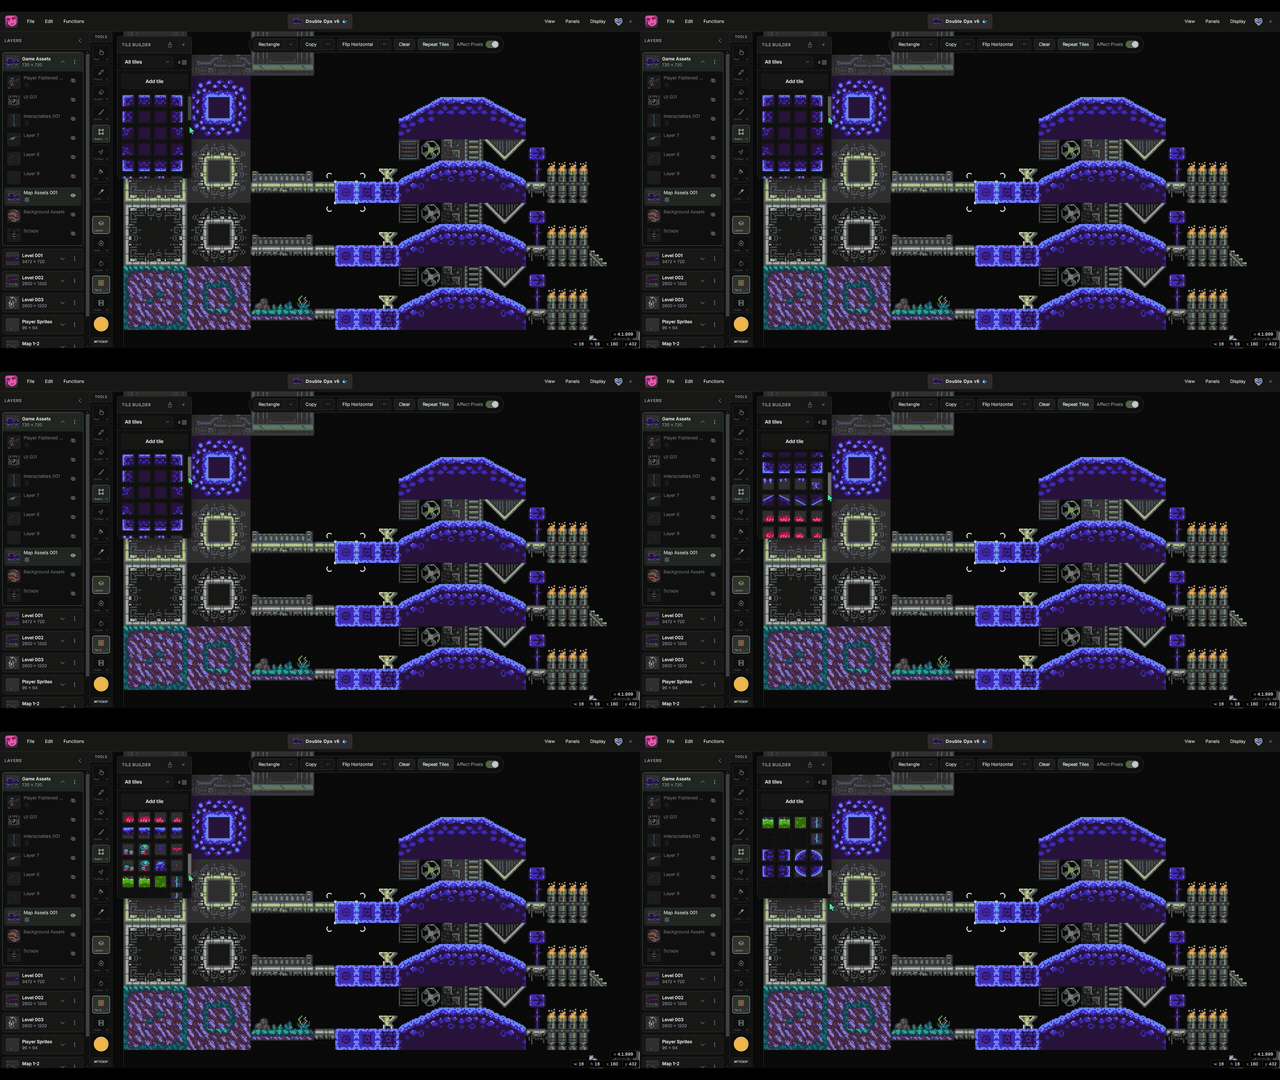
The clip in the header shows the Map Builder workflow — capture tiles, then stamp them into a level on the canvas.
Most tile map workflows split art and layout: paint a sheet in one app, place tiles in another, re-export when art changes. Map Builder keeps both sides together — draw, save tiles to a palette, stamp levels on the canvas, revise art, and push updates across the map. That speed matters when you are prototyping, pitching, or shipping on a tight schedule.
The opportunity for game artists
Pixel art games live or die on how fast you can iterate. Map Builder is built around a simple idea: your tiles are brushes. Once you capture a piece of art as a tile, you can reuse it everywhere — grass, walls, platforms, props, UI frames, even multi-cell objects like trees or buildings.
That opens up workflows that are hard to match when art and level data live in different tools:
- Sketch a level in an afternoon — block terrain, paths, and platforms before gameplay code exists.
- Revise art without repainting the world — update a tile and sync every copy on the map.
- Keep tilesets organized — group terrain, decor, and structures so you paint from focused palettes.
- Stay in one project — tile art, painted maps, and sprites can live together in a single Manabit file.
Capture workflow
- Draw tile art on the canvas (or select an existing region).
- Make a rectangular selection around the pixels you want to reuse.
- Open Map Builder and click Add tile.
- Click the new tile in the grid — Manabit switches to the brush with that tile active.
- Paint on the grid-snapped canvas to stamp the tile into your level.
You do not need a finished tileset before you start. Add tiles as you need them — one grass piece, then a corner, then a variant when something looks repetitive.
Ways to create game art quickly
Rapid level blocking
Before you worry about polish, stamp rough tiles to answer layout questions: Is this room too big? Does the player path feel right? Can the camera read the platforms? Map Builder is ideal for greybox-style pixel blocking — swap placeholder tiles for finished art later without rebuilding the level from scratch.
Paint large areas fast
Once a tile is selected, filling floors, walls, and backgrounds becomes a stamping job instead of pixel-by-pixel drawing. Hold Ctrl and drag a rectangle with the brush to flood-fill a grid region. For platformers, top-down RPGs, and roguelike rooms, that difference shows up immediately in how much map you can cover in a session.
Organize by biome, zone, or chapter
Use categories like Forest, Cave, Town, or Interior so you are never scrolling through every tile in the project. When you switch scenes, switch categories. Level designers on small teams often think in sets — Map Builder mirrors that habit.
Separate tileset art from the painted map
Keep source tiles on one layer and stamp the playable layout on another. Your tile library stays clean; the level layer is what you export or show in a trailer. That separation is a common studio pattern and it keeps iteration tidy.
Enable Lock to current layer on the Map Builder panel while your tileset layer is active. The panel stays pinned to that layer's tiles even when you select a different layer — pick a tile, switch to your layout layer, and stamp with the brush. You paint the map without losing access to the tileset library.
Lock tiles from one layer, paint on another
Layer lock is the key to a two-layer map workflow: capture and organize tiles on a dedicated tileset layer, lock Map Builder to that layer, then activate your level layer and stamp freely. The panel keeps showing the locked layer's grid; the brush paints on whichever layer is active.
Fix one tile, update the whole map
Art changes late in production — color shifts, readability tweaks, style unification. When a grass or wall tile improves, you should not hunt down every placement by hand. Right-click a tile in Map Builder and use Replace all matching to push the update across the level.
Multi-size tiles for richer worlds
Not everything fits in a 16×16 cell. Capture larger props — trees, furniture, shop fronts, boss arena pieces — and stamp them alongside standard tiles. Mixed-size tilesets help small teams make worlds feel detailed without drawing every scene from scratch.
Game types that benefit most
- Platformers and metroidvanias — repeatable ground, walls, and platform tiles; quick room layouts.
- Top-down RPGs and roguelikes — floor patterns, dungeon rooms, town districts stamped from palettes.
- Tower defense and strategy — grid-aligned terrain and path tiles for readable boards.
- Retro-style adventure games — handcrafted rooms built from a consistent tile vocabulary.
Getting to your game engine
Manabit is an art tool first. When a level or tileset looks right, export PNG and bring it into your engine of choice:
- Godot — TileMap and TileSet from exported art
- Unity — 2D Tilemap from sliced PNG
- GameMaker — room tiles from imported sprites
Many teams paint visuals in Manabit and handle collision layers or entity data in tools like Tiled or LDtk when the project needs structured map files.
A mindset that saves time
- Start small — a floor, a wall, one prop. Paint something playable today.
- Capture early — turn finished pixels into tiles as soon as they work.
- Block before you polish — layout first, detail second.
- Iterate in passes — rough map → art pass → readability pass → export.
- Keep palettes focused — only the tiles you need for the scene you are building.
Try it: open the Manabit web app, sketch a few tiles, capture them in Map Builder, and paint a room.